Image 1 of 2
 Image 2 of 2
Pre cut Iron-on backings.
When ironing on patches !!!DO NOT PLACE HOT IRON DIRECTLY ON PATCH INK!!! Please read instructions below before ironing on printed patches.
auto size: we auto match backing sizes with the sizes of patches in your order. If the number of backings doesn’t match the total number of patches in your cart, either leave us a note at check out which to prioritize, or we’ll make our best guess.
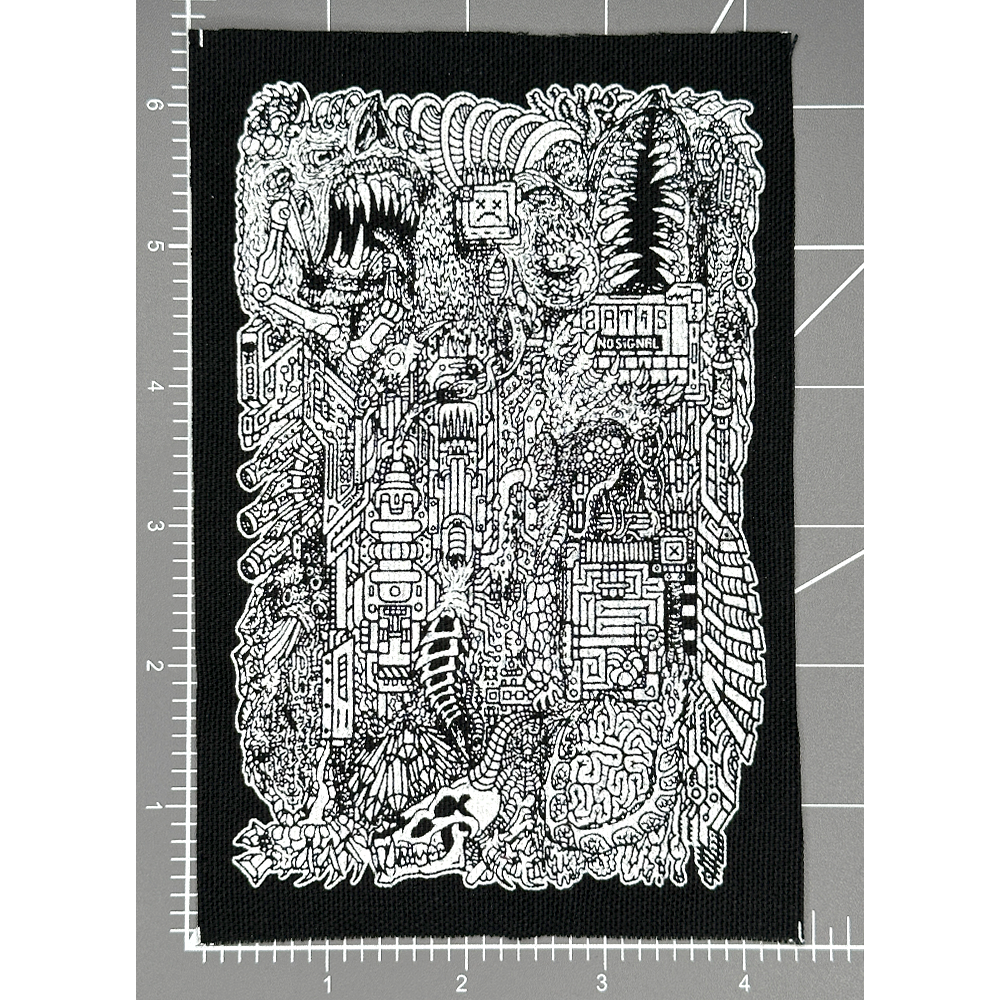
Backings are 0.5” smaller than small patches (0.25” margins) and 1” smaller than back patches (0.5” margins)
Light= HeatnBond: Lite. Best for sticking to light to medium weight fabrics, and maximizing flexibility. My Personal preference for crust pants, and fabrics that are lighter than denim.
Heavy= Heatnbond: Ultra Hold. Best for sticking to heavier fabrics like heavy weight denim, and some added hold and stiffness to prevent wrinkling and uneven shrinking in the wash. My personal preference for large back patches, denim jackets, and patching accessories like backpacks.
You can also find full HeatnBond sheets at most any store that has sewing supplies. I provide these precut sizes at a low price as a convenience to my customers rather than as a source of additional revenue.
All iron-on backings are meant to be used in combination with sewing patches on. DIY or DIE.
Why can’t you directly place hot iron on any screen printing ink?
Screen printing ink can be reactivated by high heat, so there needs to be a non-stick barrier between the iron and the patch, like a Teflon paper sheet. Luckily the paper backings of the iron-ons can be used to protect the the patch ink after it has been peeled off. Most fabric inks require heat curing, makin them heat sensitive in one way or another. Plastisol screen print ink especially needs heat to cure, but when it’s really hot it becomes sticky and can potentially be smudged. As soon as the ink is back to normal temperature, the ink will return to it tough fully cured state, ready to survive what ever punk ass shenanigans you’re about to throw at it.
Tutorial:
Place the iron-on on the backside of your patch with the paper side facing up, and place your patch on a flat surface that isn’t heat sensitive you dummy. If you don’t have an ironing board, you can use thick PURE COTTON fabrics like a towel to help create a heat barrier.
With a hot iron at MEDIUM HEAT, iron the paper side of the iron on sheet for no longer than 15-20 seconds. Avoid sliding the iron around and instead lift and reposition the iron to heat each part of the backing. Over heating the backing longer than 30 seconds could cause too much of the adhesive to soak in to the patch fabric, causing it to not stick to what ever you’re gonna sew it to.
After it has cooled down you can peel off the paper backing, but don’t discard it yet.
Place your patch where ever you want to sew it. again make sure that it is completely flat and even on a heat safe surface. I’m saying it twice because having a completely flat and even surface behind the full patch is way more important than you think.
place the paper backing on top of the patch so that the glossy side is facing the ink and the paper side is up.
With your hot iron set to medium heat, heat each section of the patch for 20-30 seconds. DO NOT SLIDE THE IRON AROUND, lift and place the iron down on each section so you don’t shift the patch position or shift the protective sheet. shifting the sheet while the patch is very hot, or ironing on a bumpy or un even surface can potentially cause the hot ink to smudge.
FULLY WAIT for the patch to cool down about warm heat or cooler, as opposed to hot like a hot shower or pizza that you know is gonna burn the shit outa your mouth, but you’re about to eat it anyway… and then carefully peal the protective sheet off the patch.
Sew on you patch. No iron on backing alone is a permanent fabric adhesive.
Machine or Hand Wash your newly customized thingy to make the raw edges of the patch fray, helping interlock the patch edge to your threads. Wash and dry at cool to medium heat.
PRO TIP: washing any printed garments inside out helps screen print ink withstand the test of time because washing machine blades and other hard items in the wash (like spikey jackets) can physically scratch away at the ink year after year. Using Mesh bags, or washing with towel loads can also help protect delicate and easily tangled garments, as well as protecting other items in the wash from getting damaged or tangled in metal spikey clothing.
Pre cut Iron-on backings.
When ironing on patches !!!DO NOT PLACE HOT IRON DIRECTLY ON PATCH INK!!! Please read instructions below before ironing on printed patches.
auto size: we auto match backing sizes with the sizes of patches in your order. If the number of backings doesn’t match the total number of patches in your cart, either leave us a note at check out which to prioritize, or we’ll make our best guess.
Backings are 0.5” smaller than small patches (0.25” margins) and 1” smaller than back patches (0.5” margins)
Light= HeatnBond: Lite. Best for sticking to light to medium weight fabrics, and maximizing flexibility. My Personal preference for crust pants, and fabrics that are lighter than denim.
Heavy= Heatnbond: Ultra Hold. Best for sticking to heavier fabrics like heavy weight denim, and some added hold and stiffness to prevent wrinkling and uneven shrinking in the wash. My personal preference for large back patches, denim jackets, and patching accessories like backpacks.
You can also find full HeatnBond sheets at most any store that has sewing supplies. I provide these precut sizes at a low price as a convenience to my customers rather than as a source of additional revenue.
All iron-on backings are meant to be used in combination with sewing patches on. DIY or DIE.
Why can’t you directly place hot iron on any screen printing ink?
Screen printing ink can be reactivated by high heat, so there needs to be a non-stick barrier between the iron and the patch, like a Teflon paper sheet. Luckily the paper backings of the iron-ons can be used to protect the the patch ink after it has been peeled off. Most fabric inks require heat curing, makin them heat sensitive in one way or another. Plastisol screen print ink especially needs heat to cure, but when it’s really hot it becomes sticky and can potentially be smudged. As soon as the ink is back to normal temperature, the ink will return to it tough fully cured state, ready to survive what ever punk ass shenanigans you’re about to throw at it.
Tutorial:
Place the iron-on on the backside of your patch with the paper side facing up, and place your patch on a flat surface that isn’t heat sensitive you dummy. If you don’t have an ironing board, you can use thick PURE COTTON fabrics like a towel to help create a heat barrier.
With a hot iron at MEDIUM HEAT, iron the paper side of the iron on sheet for no longer than 15-20 seconds. Avoid sliding the iron around and instead lift and reposition the iron to heat each part of the backing. Over heating the backing longer than 30 seconds could cause too much of the adhesive to soak in to the patch fabric, causing it to not stick to what ever you’re gonna sew it to.
After it has cooled down you can peel off the paper backing, but don’t discard it yet.
Place your patch where ever you want to sew it. again make sure that it is completely flat and even on a heat safe surface. I’m saying it twice because having a completely flat and even surface behind the full patch is way more important than you think.
place the paper backing on top of the patch so that the glossy side is facing the ink and the paper side is up.
With your hot iron set to medium heat, heat each section of the patch for 20-30 seconds. DO NOT SLIDE THE IRON AROUND, lift and place the iron down on each section so you don’t shift the patch position or shift the protective sheet. shifting the sheet while the patch is very hot, or ironing on a bumpy or un even surface can potentially cause the hot ink to smudge.
FULLY WAIT for the patch to cool down about warm heat or cooler, as opposed to hot like a hot shower or pizza that you know is gonna burn the shit outa your mouth, but you’re about to eat it anyway… and then carefully peal the protective sheet off the patch.
Sew on you patch. No iron on backing alone is a permanent fabric adhesive.
Machine or Hand Wash your newly customized thingy to make the raw edges of the patch fray, helping interlock the patch edge to your threads. Wash and dry at cool to medium heat.
PRO TIP: washing any printed garments inside out helps screen print ink withstand the test of time because washing machine blades and other hard items in the wash (like spikey jackets) can physically scratch away at the ink year after year. Using Mesh bags, or washing with towel loads can also help protect delicate and easily tangled garments, as well as protecting other items in the wash from getting damaged or tangled in metal spikey clothing.